Learning how to turn on skis is something you will be learning on day one, right after learning how to stop and go. Learning how to turn on skis not only allows you to stay in the fall line as you move across the hill, but it also allows you to slow down when needed.
Believe it or not, there are actually quite a few ways of turning on skis. No two turns are likely ever the same. Today I’m going to break down the top three most common ways to turn on skis: snow plow turns, parallel turns, and carving. I’m also going to give you my top tips on turning that will help make the learning process so much easier.
Keep reading to learn how to turn on skis!
Technique
No matter which technique you are using for turning on your skis, the actual turning process is going to be the same.
First, it starts with gravity. When you are light on your feet, this is the best time to start twisting your body and initiating the turn.
Once you’ve started to turn your body you’ll start to feel a little more resistance, which is when you’ll begin to tip the skis and lean into the edges and make your turn. When you’re done, you’ll want to find your way back to parallel and begin initiating the next turn.
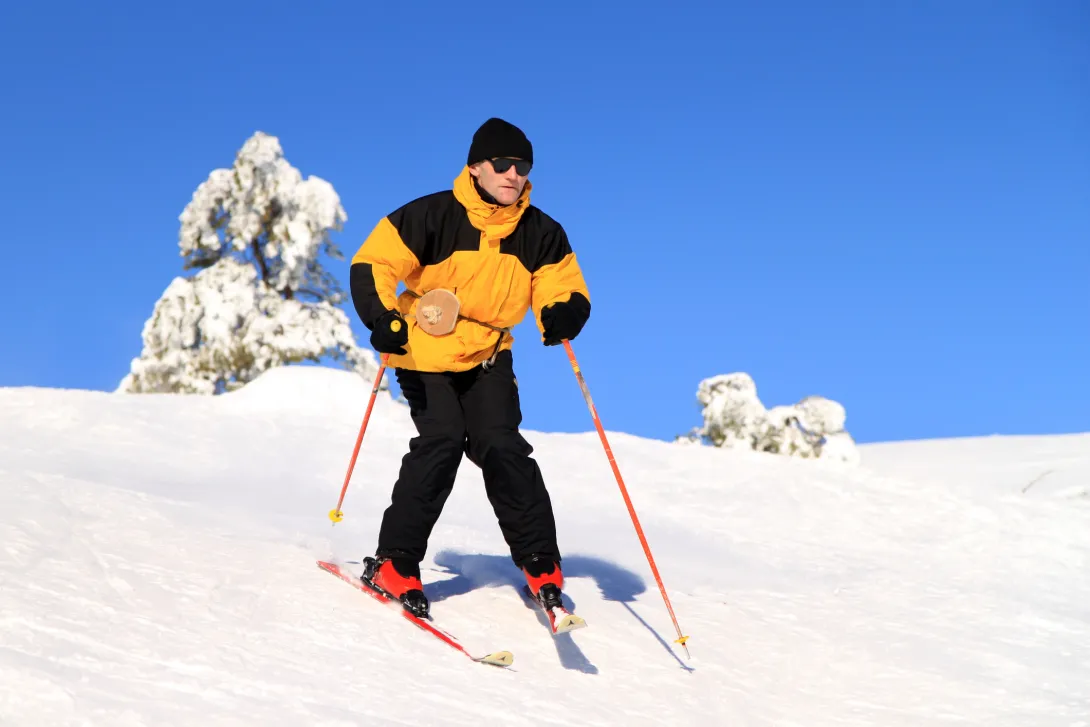
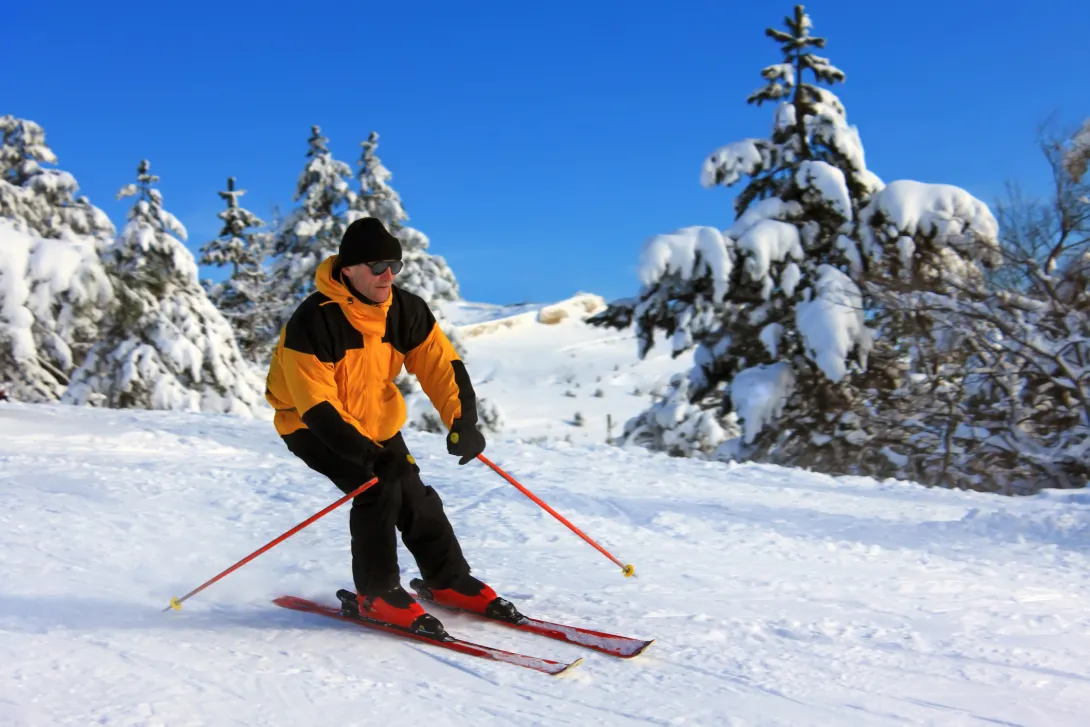
Snowplough Turns
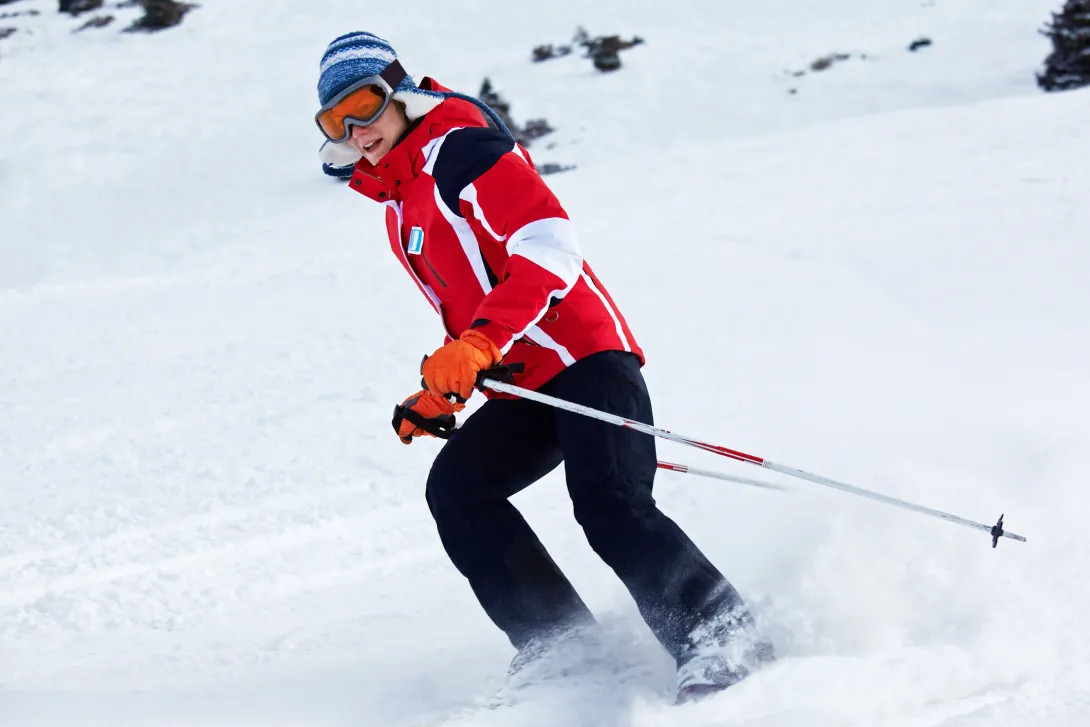
The snowplough turn (or the “pizza slice” as you’ll often hear it referred to) is the first turning technique you will learn.
In this technique the skier will create a V shape with their skis where the toes are pointed toward each other and the back ends of the skis are pointed away.
When pointing your skis, you want to make sure that there’s still a gap between them otherwise you’ll end up tripping yourself (which you will do at least once while you’re learning).
Snowplough turning is a great way to control your speed as well as make a turn. When you push your skis out it creates resistance against the snow which naturally slows you down.
To turn, you want to start in the V position and turn your knees in toward each other slightly. Then, shift your weight so as to place the pressure on your downhill ski.
This will naturally begin to initiate a turn. In order to change the direction of your turn, you just simply need to shift your weight and again, place the pressure on the downhill ski.
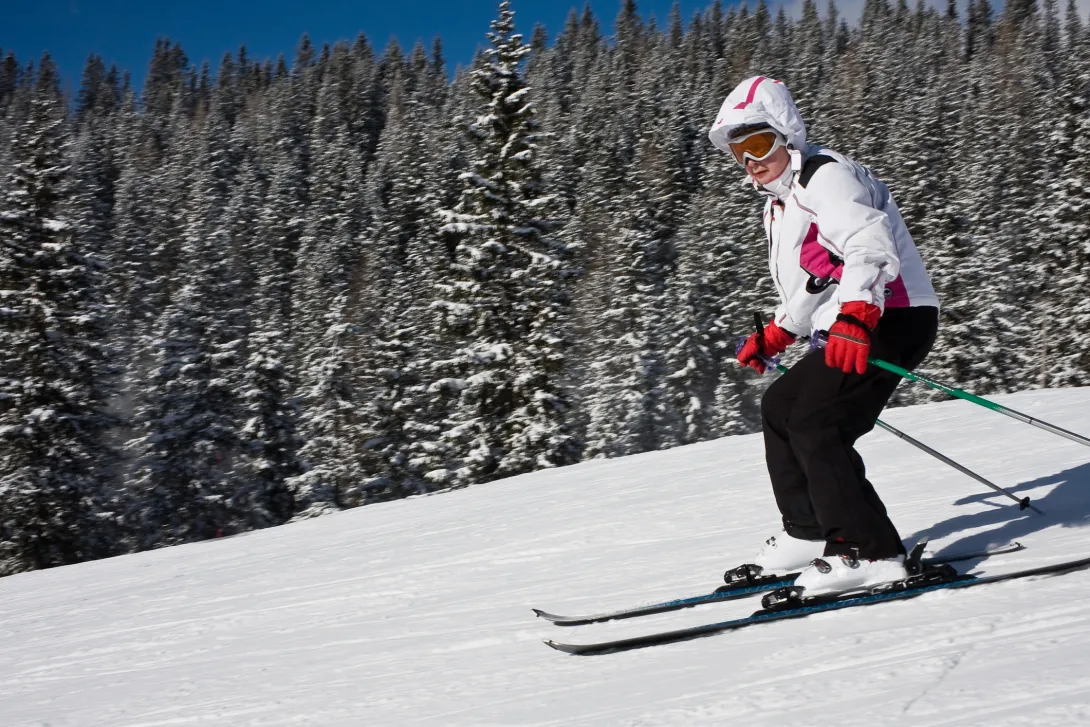
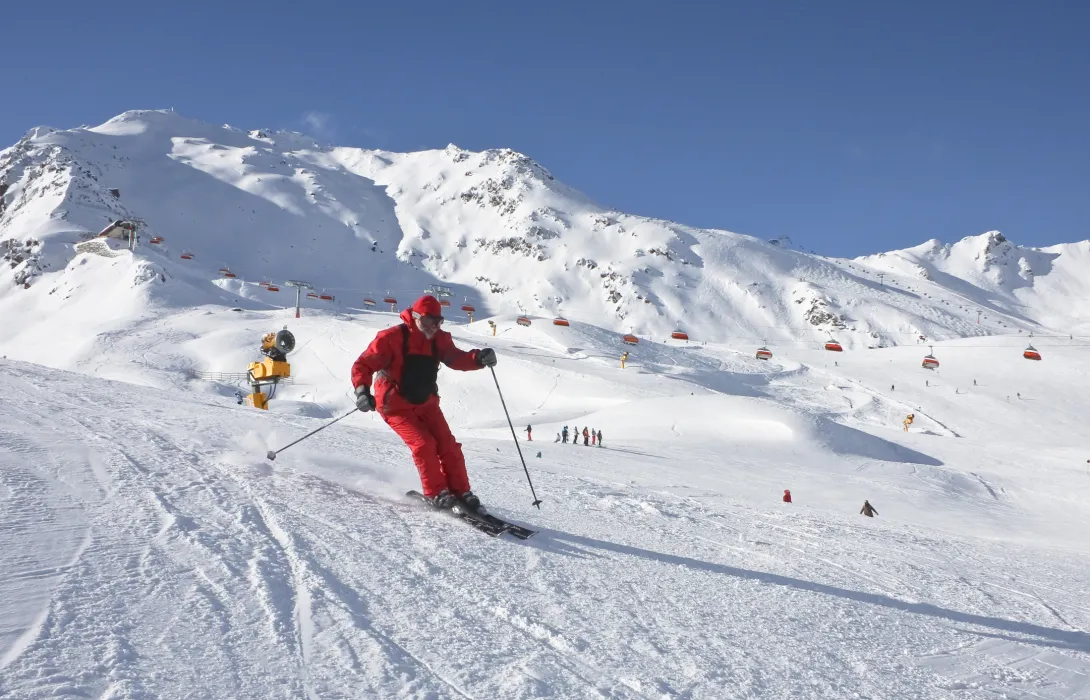
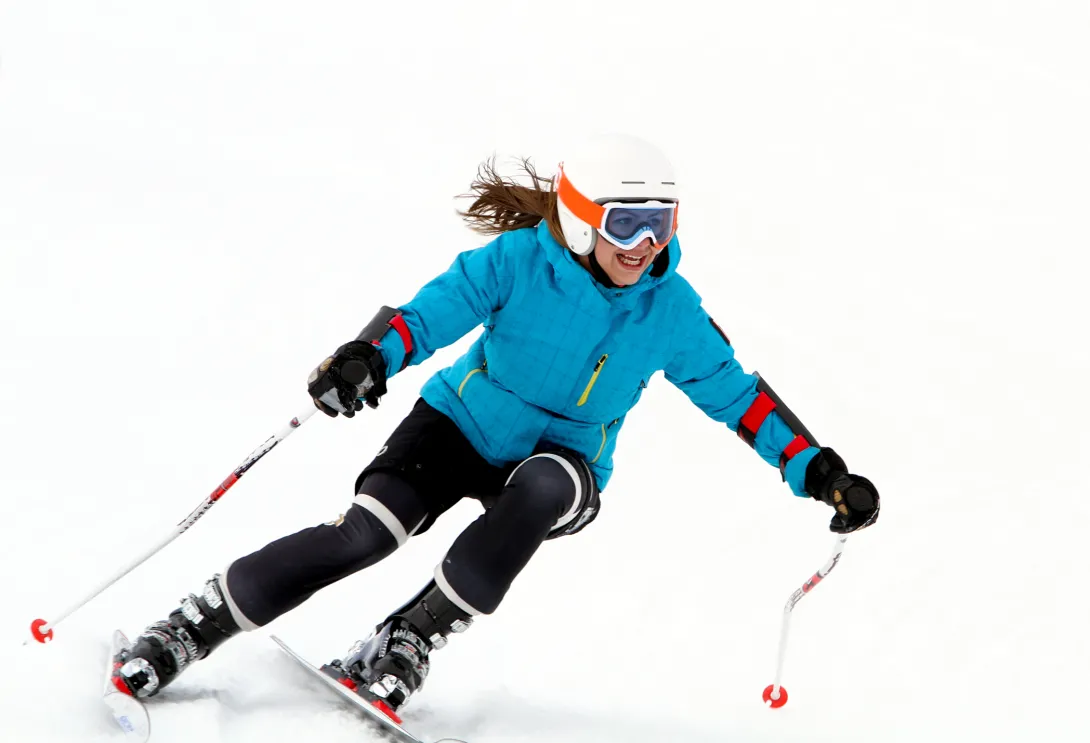
Parallel Turning
Once you’ve moved past the french fry/pizza technique and begin learning how to ski parallel, parallel turning is the next progression.
In this technique you’ll turn with your skis parallel to one another instead of in the V shape. This makes your turns faster, which can be nerve-wracking for new skiers.
In order to initiate a parallel turn, you’ll want to start with your skis pointed parallel then lean forward into your boots and shift your weight slightly to the inside edge of the downhill ski.
Once you’re in the downhill position you’ll now be in the fall line where gravity begins to take over. Here, your weight should be distributed evenly between both skis and you can get ready to shift to the inside edge of your other ski.
The longer you stay in the fall line with your skis pointed downhill, the faster you will go.
When you’re ready to switch to the other edge, lean forward and push hard on the inner edge of the outside ski. This will bring you back out of the fall line, where you’ll want to make sure to continue leaning forward until it’s time to initiate the next turn.
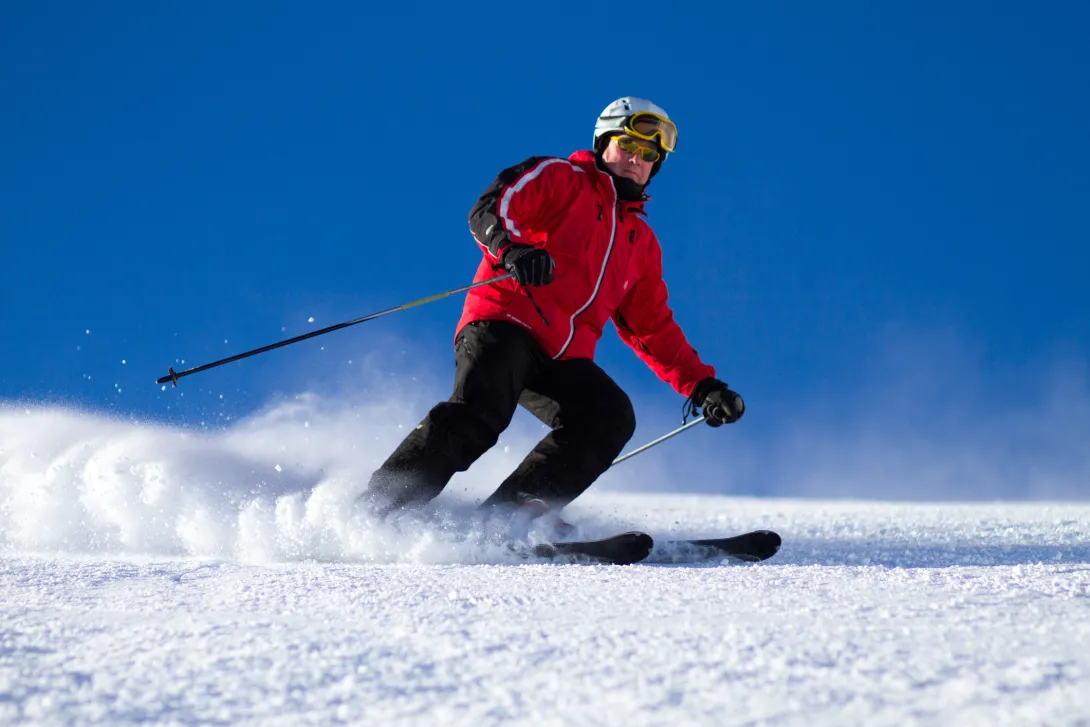
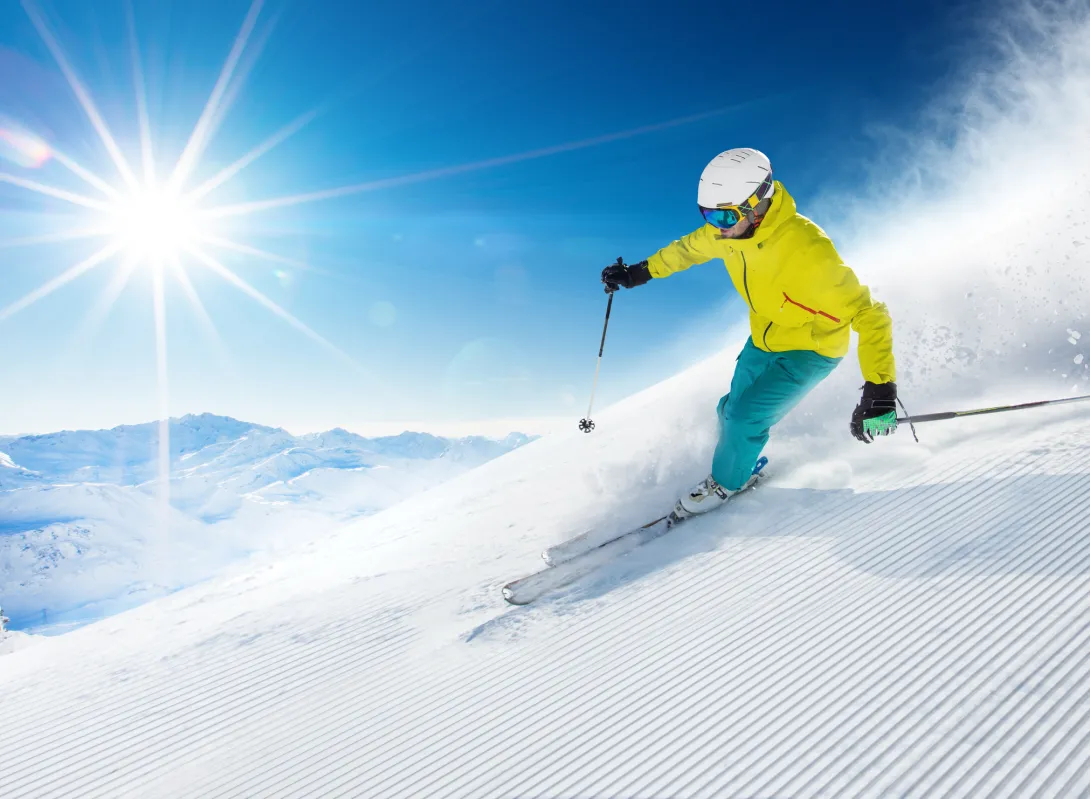
Carving
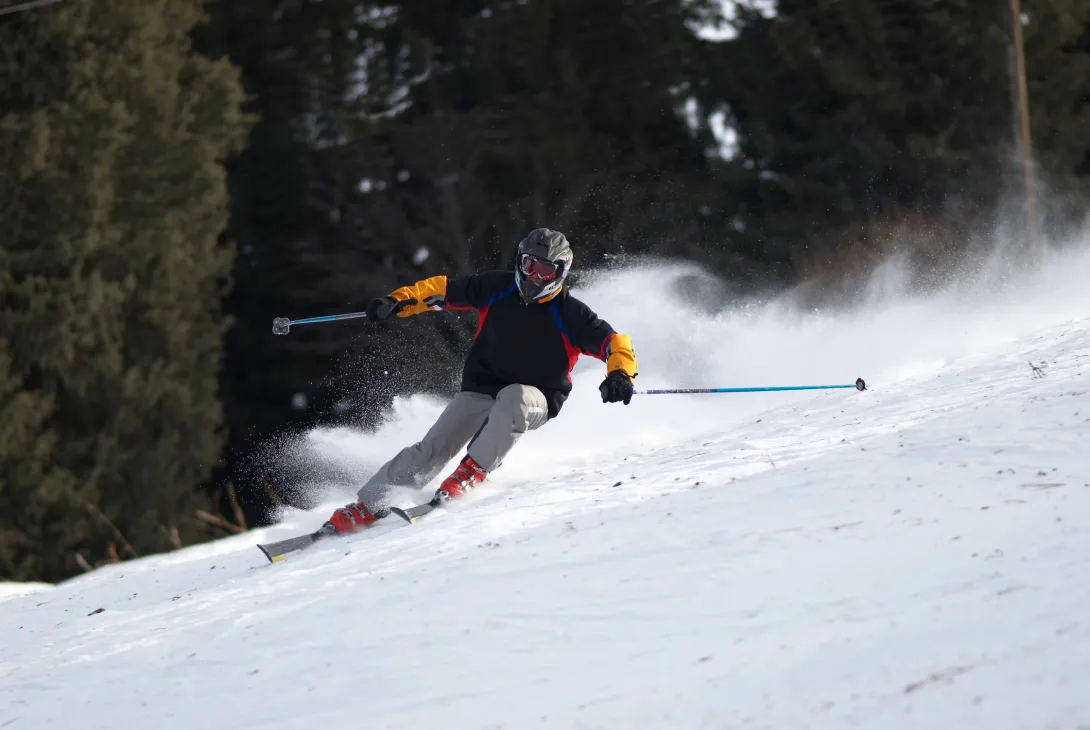
Carving with your skis is a similar technique to skiing parallel, but more intense. Due to the speed, this is often the technique used for ski racers.
You started to learn edging in parallel turns, and you’ll amplify that when ski carving so you can fly down the mountain as you make your turns. Get low to the ground and really dig into your edges.
When both of your skis are pointed down toward the fall line, initiate your carving turn by leaning low into your ski boots, and push all of your weight into the downhill ski’s edge. You need to really dig into the snow and steer with your skis.
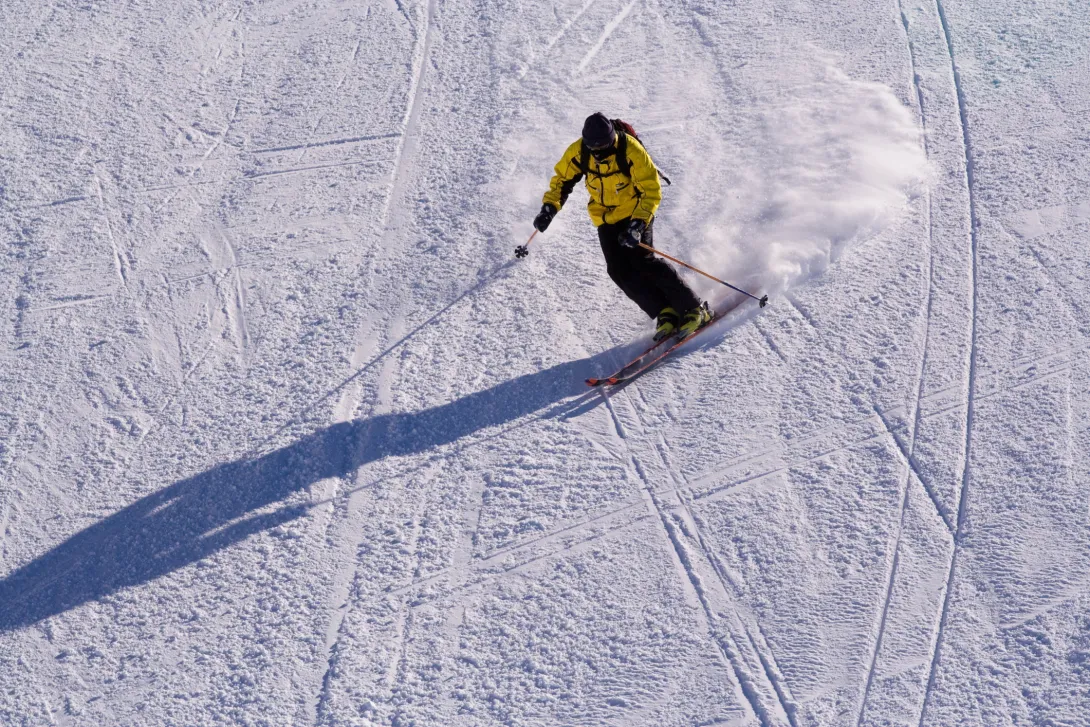
Once your skis are parallel down the fall line, twist your body and dig into the ski that is now downhill.
When ski carving, the faster you go the easier your turn will be. It’s not an easy technique, and you can’t hesitate. But the more you practice, the better you will get!
Top Tips For Turning on Skis
Learning how to turn on skis is not the easiest task. No matter which technique you’re using, here are our top tips to help make learning how to turn on skis as smooth of a process as possible.
Take a lesson
Let's be real...it’s tough to learn how to turn from the internet.
While you can definitely learn the technique, it won’t make as much sense until you feel it out in person. It’s also tough to know whether you’re doing it right or wrong without some professional feedback.
There are many ways to turn on skis and a pro will help you learn the technique that’s best for you, so a ski lesson can greatly assist.
Use your legs
A lot of turning on skis is steering with your skis, but the power and grace of the turn comes from pushing with your legs. Push hard, and make sure you’re using your body as much as your skis.
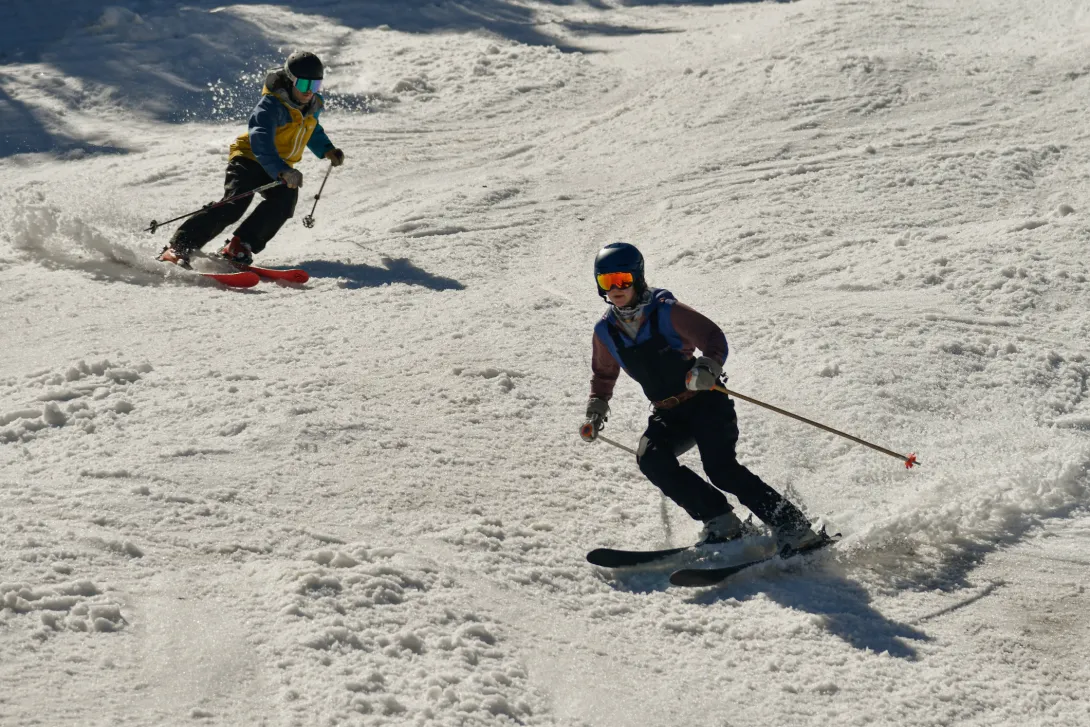
Practice
As with anything, practice makes perfect. You’re going to make a lot of mistakes in the beginning.
I can’t tell you how many times I’ve tripped over my own feet. But every time I did, I got up, kept going, and fell less and less over time.
Breathe
Don’t forget to breathe!
This may sound silly, but make sure you’re not holding your breath. Especially as you learn how to parallel turn. This will allow the body to relax and move in its natural rhythm.