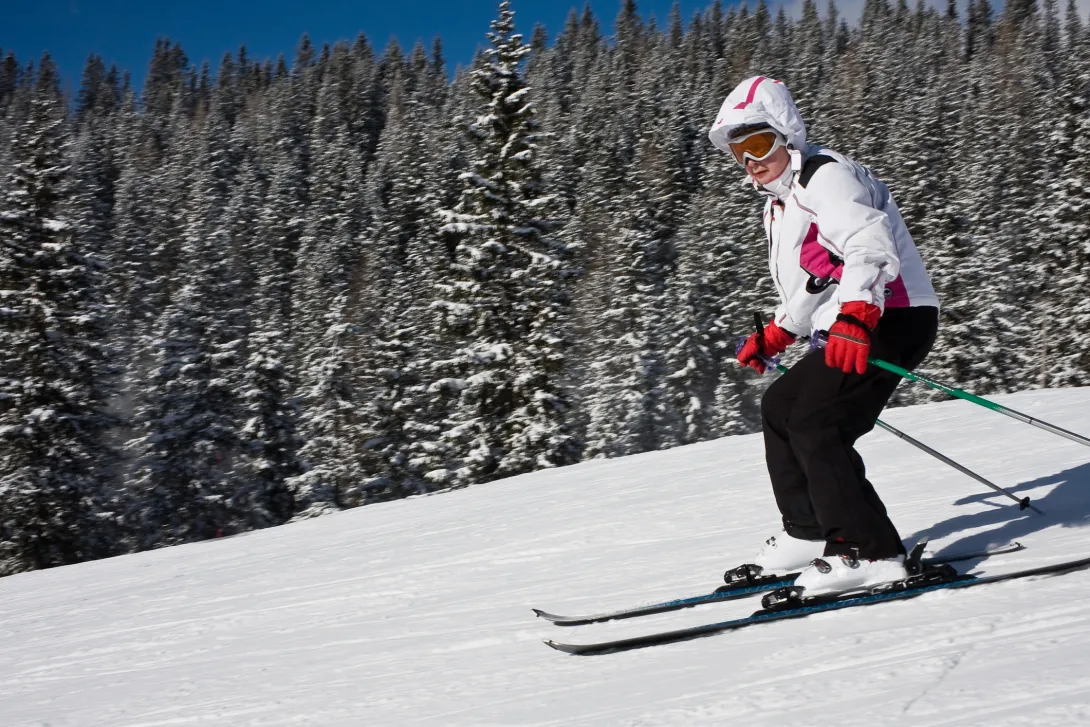
Before you make your first descent down the mountain on a pair of skis, you need to learn how to stop.
Don’t be that guy (or adventure gal) who full sends it down the mountain and then realizes too late that you didn’t learn how to stop first. Unfortunately, this will most likely result in a crash or injury and destroy your confidence as a skier from the get go.
There are three main techniques that you can use in order to come to a stop on skis. Each one will be a progression, so be sure to master the snowplough stop before you move on to the parallel stop and so on and so forth.
Keep reading to learn how to stop on skis, as well as our top three tips to help you become a pro at stopping on skis in no time!
How To Stop On Skis: The Technique
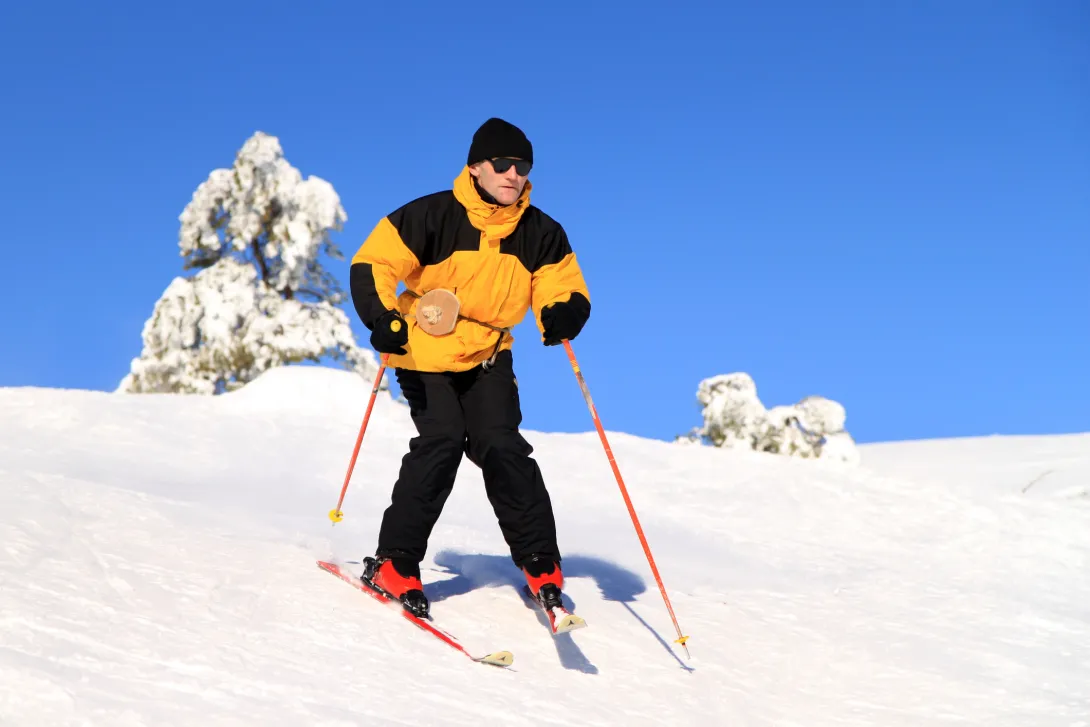
Snowplough Stop
The first way you’ll learn how to stop on skis is by using the snowplough stop or “pizza stop” as you’ll often hear it referred to as. Making a V or pizza shape with your skis creates friction with the snow, allowing you to either slow down or stop altogether.
In order to initiate a pizza stop, as your body is facing straight downhill, you’ll need to spread your feet wide, point your toes inward and the backs of your skis out. This is where you will begin to feel yourself slowing down. Once you’re ready to stop completely, place the pressure onto the inside edge of both of your skis evenly in order to create more friction and come to a complete halt.
You can practice this stop before you head out onto the slopes for the first time by having a friend or ski instructor push you forward.
Wedged Turn Stop
The wedged turn stop is similar to the snowplough stop, but will help you avoid objects that may be right in front of you.
In order to initiate a wedged turn stop, you are first going to make a snowplough turn. Spread your feet wide, point your toes inward and the backs of your skis out. Rather than placing your weight on both of your skis evenly, instead place the pressure onto the inside edge of one ski (your downhill ski).
By placing the pressure on your right ski, you will turn left, and by placing the pressure onto your left ski, you will turn right. This way, you can come to a stop while facing to the side of the mountain rather than forward. The harder you push the quicker you will stop, and by keeping your weight on the inside edge of the ski, you will minimize sliding.
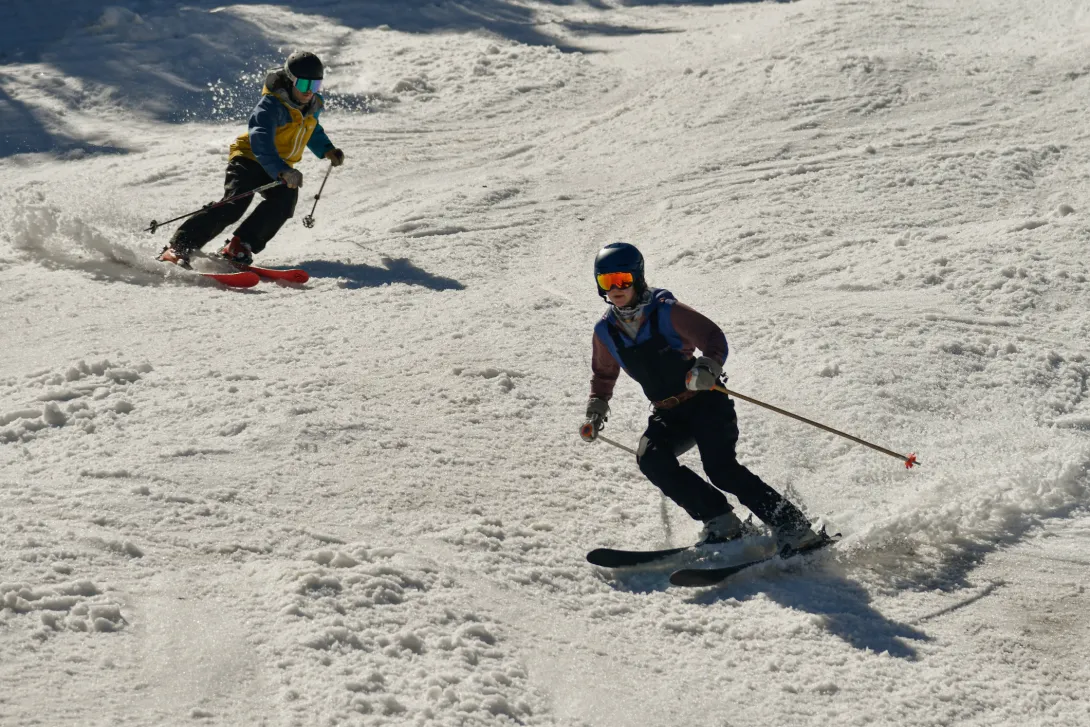
Parallel Stop (“Hockey Stop”)
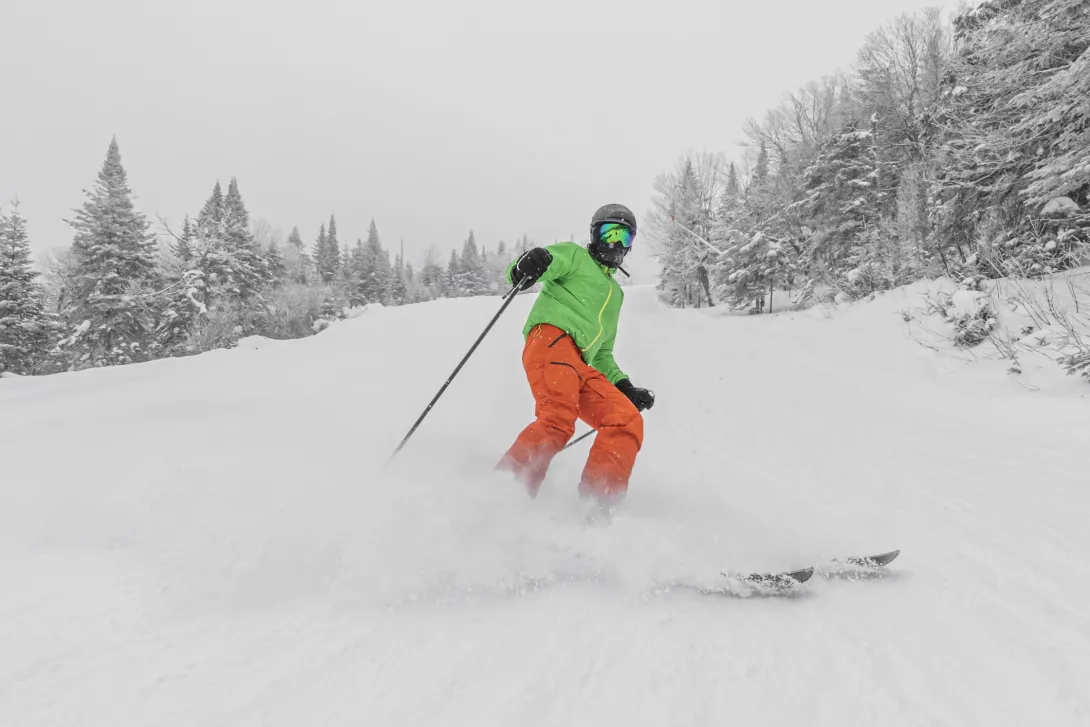
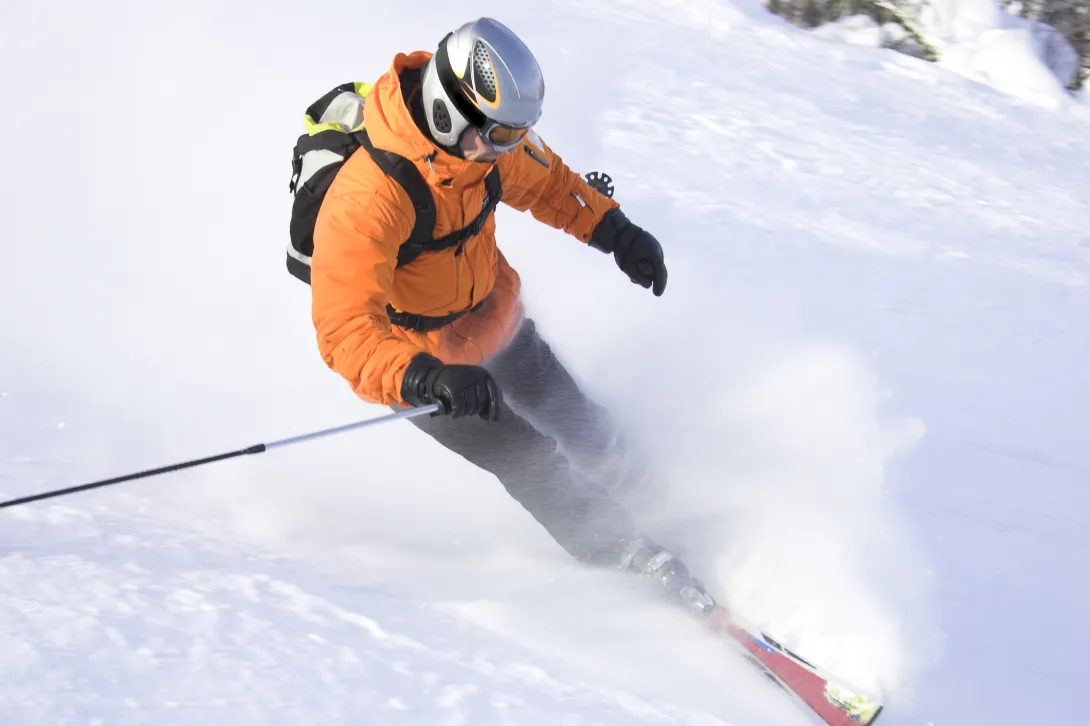
Once you’ve learned how to ski parallel and make parallel turns, the next progression is to learn a parallel stop, most commonly referred to as a “hockey stop”. Once you’re comfortable making parallel turns at speed, you’re ready to learn the hockey stop as it is the fastest and most effective way to stop when you’re traveling at higher speeds.
To initiate a hockey stop, you must first be light on your feet. Begin by making a parallel turn and shifting your weight to the inside edge of your downhill ski. Keep your feet parallel, and as you begin bending your knees in the turn, place pressure (even more pressure than if you were making a turn) on the inside edge of both skis and push through your heels.
Be sure to push hard, because the harder you dig your feet into the snow, the faster you will come to a stop.
How To Stop On Skis: Top 3 Tips
Do not use your poles to stop
A big mistake beginners make is trying to use their poles as a crutch or trying to plant their pole into the ground in order to stop. Do NOT do this!!
Your poles are there to help you keep rhythm or push off before you start moving. If you’re already moving (especially if you’re moving fast), planting your poles could cause them to bend or snap and lead to injury. They’re unreliable, so use your body and skis, not your poles, to stop movement.
Learn How To Stop First
Don’t be the person who learns how to get down the mountain so you send it and then realize too late that you have no idea how to stop. You’ll quickly become a runaway train who is not only a danger to yourself but others around you.
Learning how to stop should be the first thing you learn when skiing, or at least something you need to learn before heading downhill for the first time. You will get injured if you run into an object to stop, and you will be liable if that object happens to be another person.
How To Fall Properly
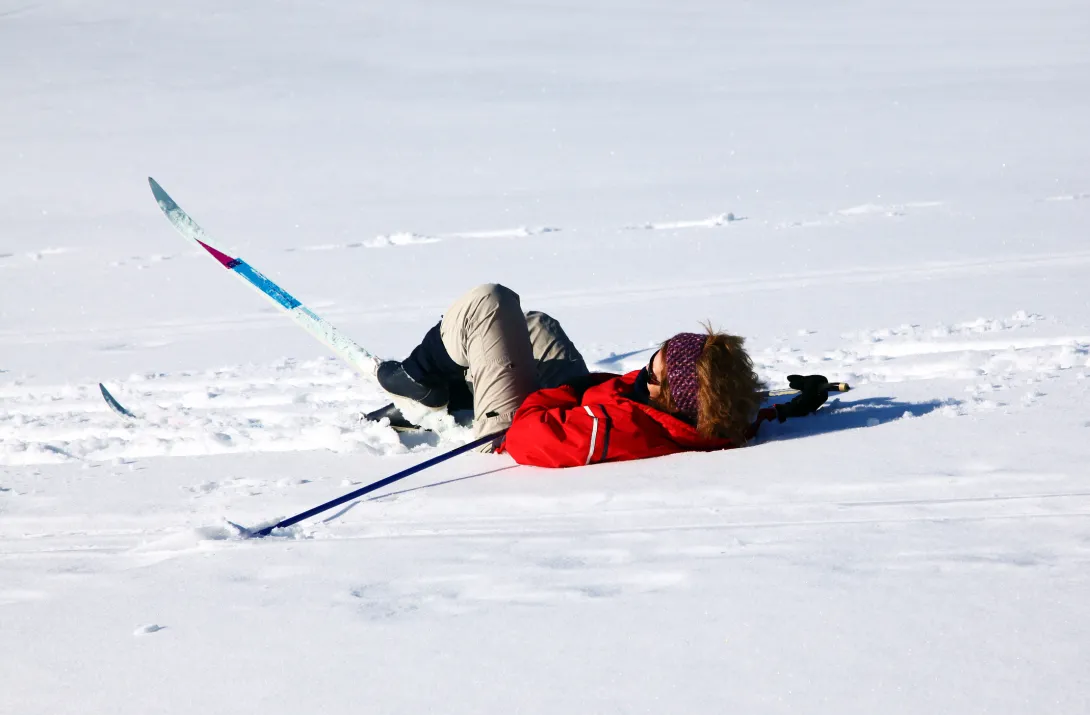
Falling is one way of stopping on skis and an inevitable rite of passage, but be aware of how to fall properly in order to avoid injury. The most important thing to note is to never reach a straight arm down to the ground. This will most likely result in a broken risk, broken elbow, or twisted shoulder. And if you try to use your edges to stop, it can result in a knee injury. Instead, try the tuck and roll.
The first thing you need to do when you feel like you’re going to fall is relax your body as much as possible. Landing on a hard surface with stiff muscles is much more likely to result in injury than if you were to have a softer body. Then, keep your arms close and bent. When you get closer to the ground you could try digging your forearm into the ground in order to stop or if you’re moving fast, roll your way out of it until you slow down.
No matter how you choose to fall, just make sure to avoid landing on your hip, your head, or an extended limb as best as you can.